When I started Credo back in 2013, I had a WordPress site with Gravity Forms installed. One of my coaches likes to joke about this, mostly in the context of that we’ve built a real business off of that start.
As a business generating leads, whether for yourself or others, when you’re first starting out just having form software and a live site is a big win. But once you’re achieving any sort of scale, manually entering new leads into your CRM and following up with them in a reasonable amount of time becomes increasingly not tenable.
As your sales scale up, you need a CRM in place.
But let’s be honest – most forms offered by CRMs suck. They look terrible, they’re slow and clunky to build, and realistically they’re going to do more harm to your lead generation efforts than they are good.
So what do you do?
In this article, I am going to show you how to still use form software like Gravity Forms and send the data collected directly to your CRM of choice.
Add-Ons
Gravity Forms is WordPress’s most popular form software, and for good reason. It’s been around since 2009 and because of this it’s robust and trusted. It’s also been in the market forever, and as investors like to say “time in the market beats timing the market.”
They also happened to launch about a year after the US economy melted down in 2008, so they came to market at a time when a lot more people were building websites because they needed/wanted to make some side income (sounds a lot like today…) and it was becoming easier and easier to create your own website with the advent and popularization of WordPress and others.
Gravity Forms at one point invested in creating an Add-Ons directory and seem to have invested in building their own Add-Ons that they could sell as upsells. In addition to the hundreds of third-party add-ons created by and kept updated by third-party developers and companies (like GravityView), Gravity Forms has three different levels of Add-Ons:
- Basic
- Pro
- Elite
The good news is that for most CRM connections, all you need is the Basic license which costs (at time of writing) just $59 per year for 1 site. With a Basic license, you can connect natively to all of these CRMs:
- ActiveCampaign
- Constant Contact
- Aweber
- GetResponse
- HubSpot
With a Pro license ($159 per year at time of writing) you can connect to these:
- Agile CRM
- Campfire
- Capsule CRM
- Trello
- Zoho
Now I know that not all of the above are technically true CRMs, people use them as such often and thus are worth being mentioned.
Interesting, one CRM that is not listed as a native Add-On is arguably the most widely used and well know. That CRM is Salesforce. There are a few of those in the Third Party Add-Ons section if you’re looking for them, and as far as we can tell there is not a minimum license required to use any of them (though there may be a cost for the third-party Add-On itself).
So how do you use a Gravity Forms Add-On to connect your website’s forms to your CRM?
It’s easy.
First, log into Gravity Forms and download your Add-On of choice after finding it on this page. Your logged in view should have a Download button like the below screenshot:
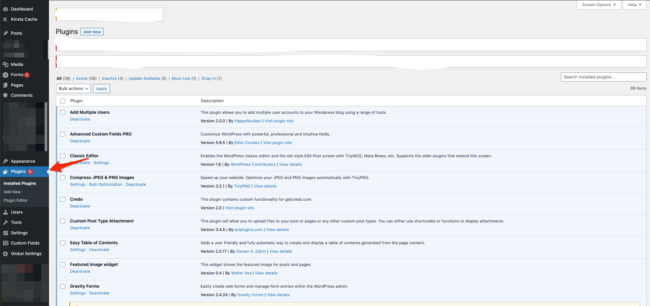
Then go to your Plugins page inside your WordPress wp-admin section of the site:
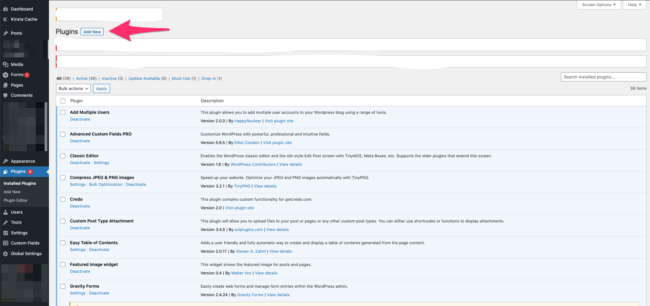
Then click the Add New button to add a new plugin:
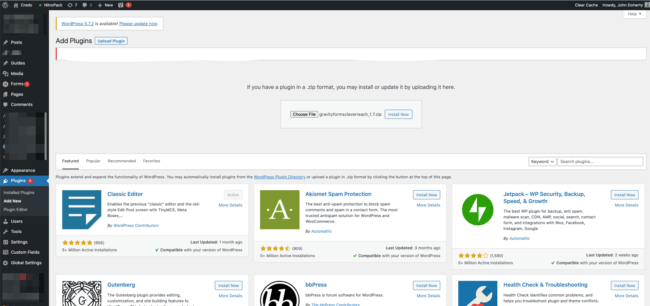
Upload the plugin as you usually do:
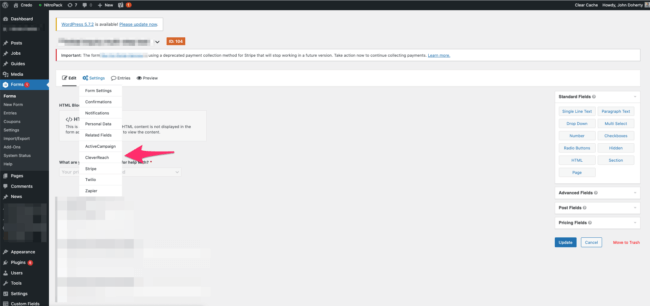
Then Install and Activate and it will appear in the Settings dropdown on any individual form. Then simply activate it (each is different with what it requires), and your data will automatically be sent to your CRM!
Zapier
The other way to connect your Gravity Forms forms to your favorite CRM, if it’s not supported as a native or third-party add-on, is Zapier.
To be completely honest, I like the Zapier option more than a native plugin most of the time simply because it means fewer plugins uploaded to my WordPress installation and thus less code and file bloat that can slow down my site.
So how do you connect your Gravity Forms to Zapier, and thus to your CRM?
First you will need a Gravity Forms Pro License and a free Zapier account (for up to 10 Zaps).
Next download the Gravity Forms Zapier Add-On and install it on your site using the above steps (yes you have to upload a plugin, but that one plugin can save you from uploading a plugin for each integration you want to use).
Now that you’ve uploaded and activated that plugin, you’ll need to authenticate yourself to Zapier through the plugin’s settings (Admin > Plugins > Find plugin > Settings). The three steps are currently:
- Enable the REST API and create a Gravity Forms API Key.
- Create a form.
- Create a Zap on zapier.com.
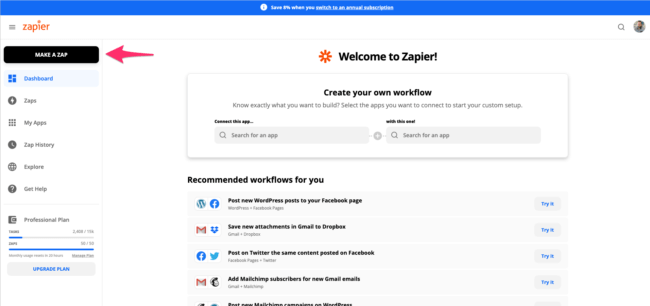
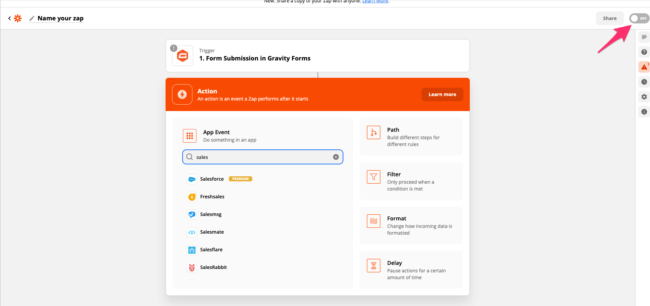
Now go over to Zapier, log in, and select Make A Zap in the upper left corner:
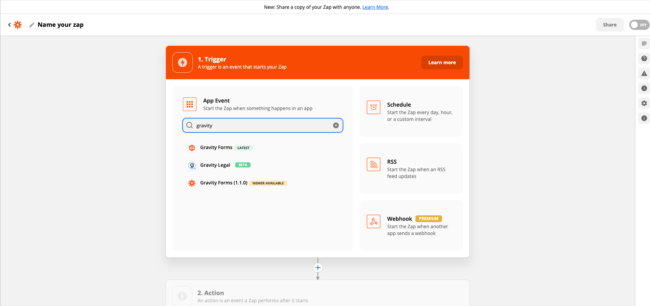
Then find Gravity Forms:
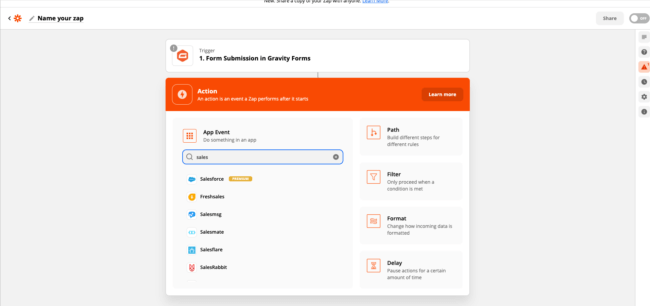
Once all is configured there, then proceed to the second step to configure how the data will be added to your CRM. Just to let you know, you can connect Gravity Forms to Salesforce here (as well as pretty much any other CRM).
Once it’s all done, run a test to make sure the data comes through correctly then turn your Zap on in the top right of the screen or the bottom pop-up that may show once everything is verified to work:
And that my friend is how you connect Gravity Forms to your CRM of choice.
